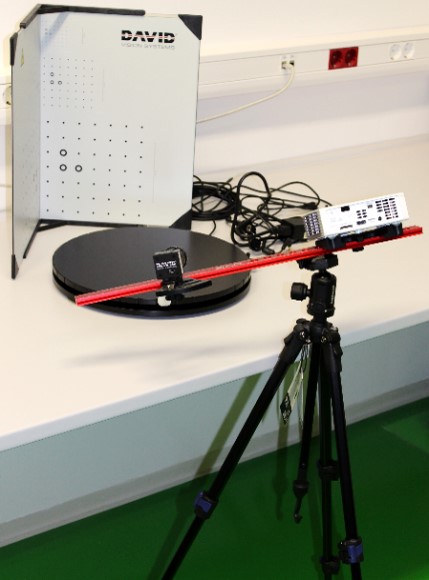
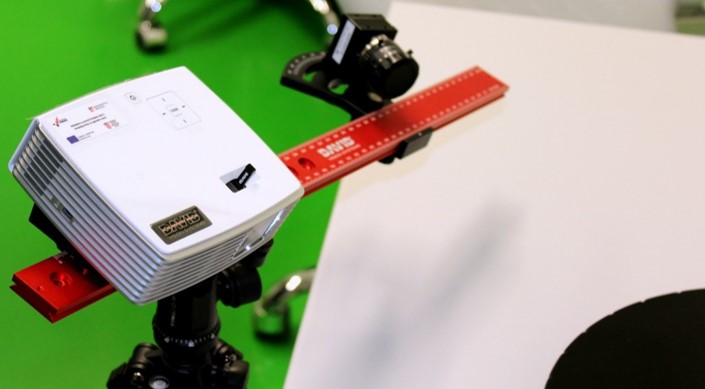
Structured Light Technology: The distance and the angle of the camera with respect to the projector are known, i.e. distortion of the reflected light pattern (fringes) depends on object’s geometry. Projector + camera + calibration panels + rotating table.
-
500 mm scanning area,
-
resolution/accuracy 1‰ of the object size,
-
includes SW environment,
-
mobile with tripod,
enables exporting data to formats compatible with standard CAD SW (e.g. STL).
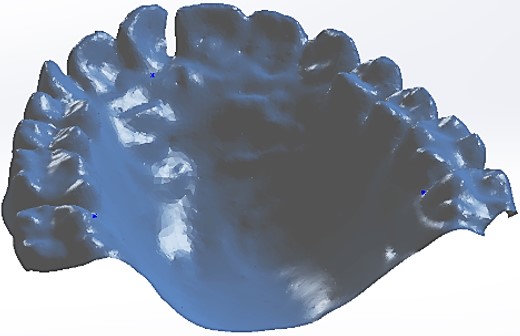
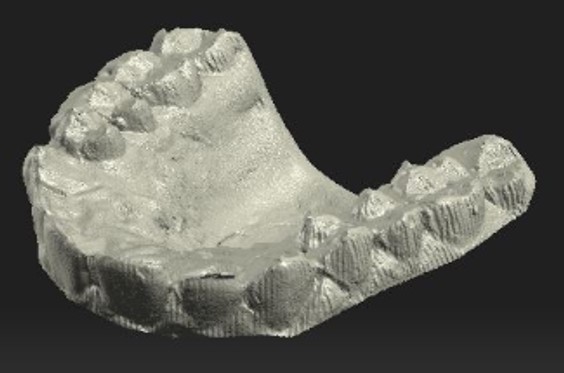
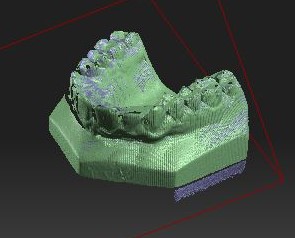
Examples of measured 3D structures – dental casts:
