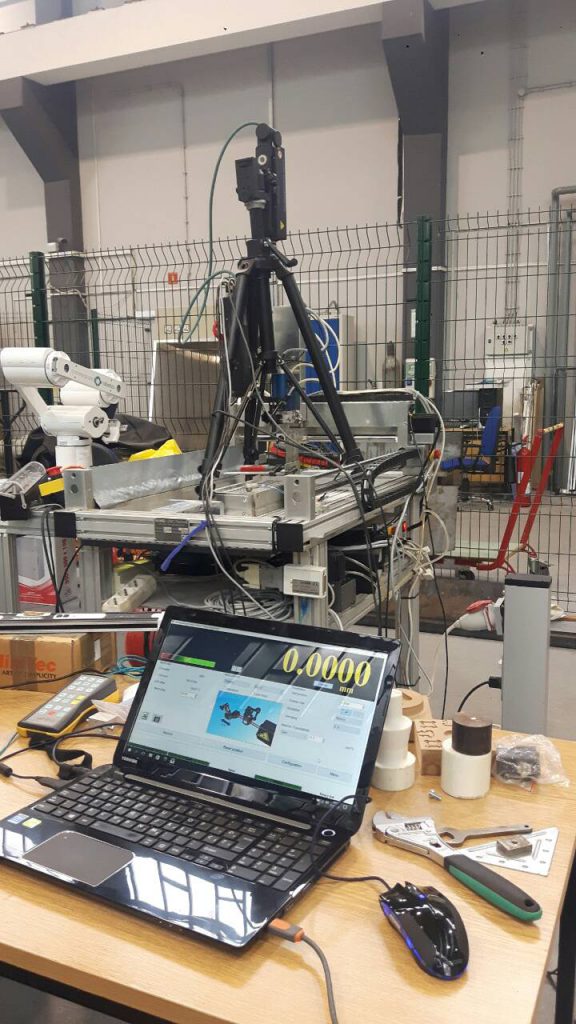
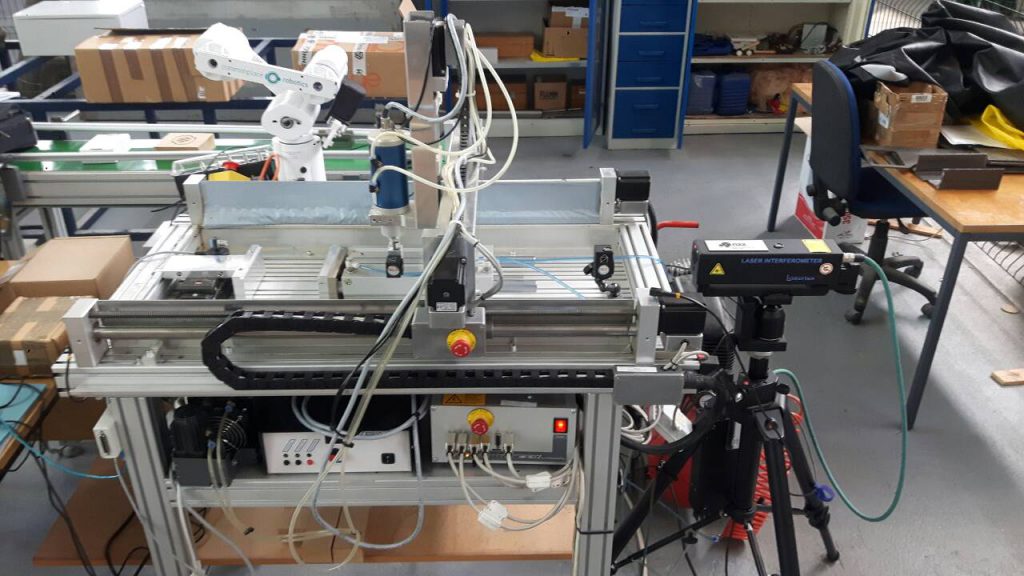
In a collaboration with prof. Zoran Jurković and asist. Graciela Šterpin Valić from the Department of industrial engineering and managment positioning accuracy and repeatability of the X,Y and Z axes of the CNC milling machine were experimentally assessed.
All measurements were made using linear positioning metods. For more accurate repeatability of taking the same position, measurements of axes were performed in 3 cycles. X-axis experimental positioning were performed with 20 mm step for the 500 mm measuring range of the X-axis. Y-axis experimental positioning were performed with 20 mm step for the 320 mm measuring range of the Y-axis. Z-axis experimental positioning were performed with 5 mm step for the 95 mm measuring range of the Z-axis.
The team is currently working on the analysis of the obtained results.


